
The short answer
Choose an image in ByteDip’s Image Compressor, adjust the quality slider, and choose Compress image. The result is a separate JPEG download. The original pixel dimensions stay the same, while the file size usually decreases as quality is lowered.
This is useful when the problem is file weight rather than display dimensions. If the image is also physically too large for its destination, resize it as a separate step.
What compression changes
- The output is encoded as JPEG for predictable browser support.
- The original width and height are preserved by the compressor.
- Lower quality usually creates a smaller file but can make edges, text, or fine detail look softer.
- The original file is not overwritten; the compressed version is a separate download.
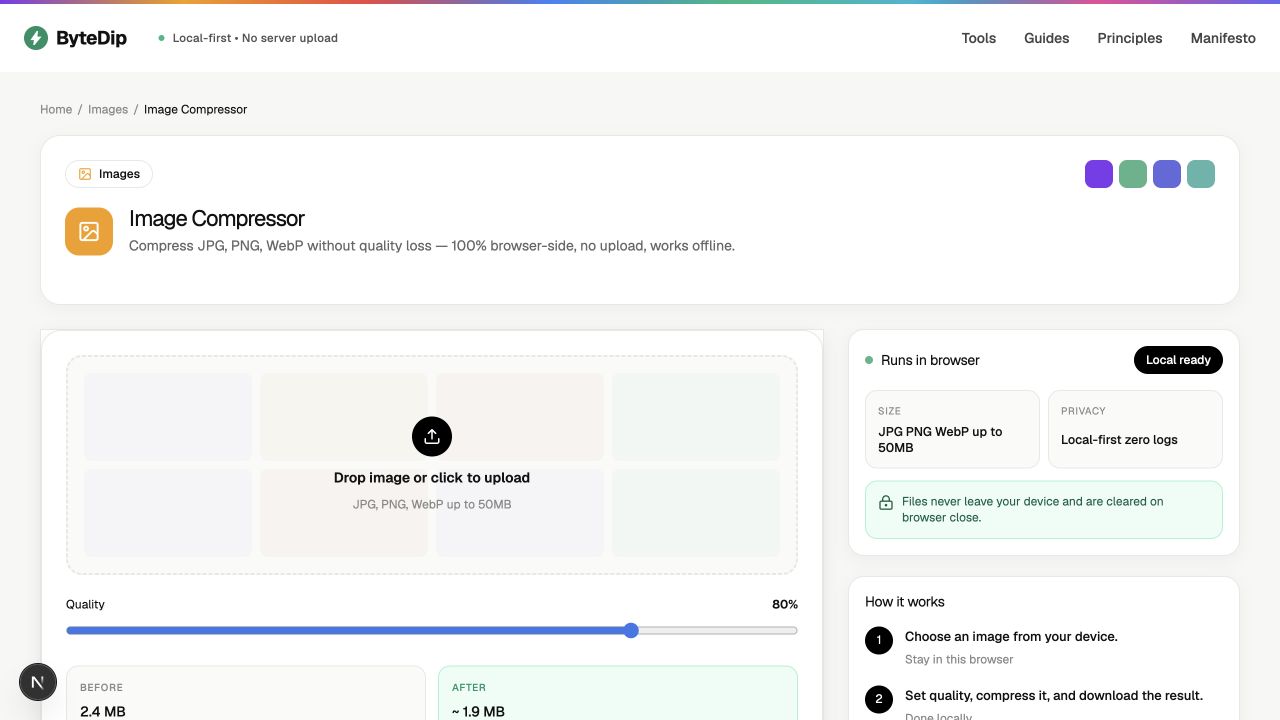
How to compress an image
- Choose the source imageOpen the tool and choose a JPG, PNG, or WebP image from your device. The current tool page accepts images up to 50 MB.
- Set a quality levelStart near the default quality and lower it gradually if the file still needs to be smaller. There is no benefit in choosing a lower setting than the destination requires.
- Compress the imageChoose Compress image. ByteDip creates the JPEG locally and reports the original and compressed sizes when the result is ready.
- Review and downloadCheck the local preview, compare the visual quality, and choose Download Compressed Image when the result is good enough for its use.
When compression is not enough
If the output still exceeds a platform limit, resizing the image can reduce the number of pixels as well as the encoded file size. If the image contains location or camera metadata, inspect or clean that separately before sharing it.
The selected image is decoded in the browser. ByteDip does not upload it or send its contents to analytics.